
Background Film Installation
How To Install Serene Frosted Background Film
Follow the steps below to install your background film. If you don't have full access to the back of your aquarium, you can cut it to size and tape it if you have partial access. Be sure to stretch it well while taping it, and this will suffice until the next time you have full access to the back of your tank to install it properly.
Our films don't have any glue or adhesive, it sticks to your glass with static cling, and when you remove it, it will not leave any residue.

Preparation
Remove any accessories such as filters and clean your back glass.
Step 1
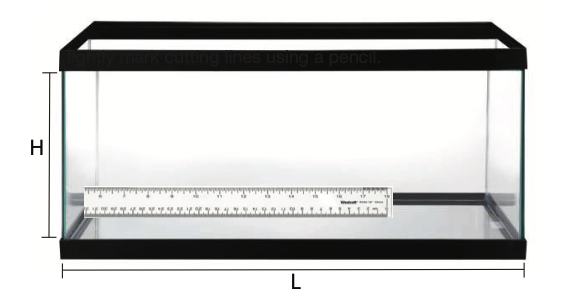
Measure your aquarium back glass dimensions. (Do not include the frame if you have one)

Step 2
Cut your background film a couple of inches more than what you have measured. (You will trim it to size later.)
Step 3
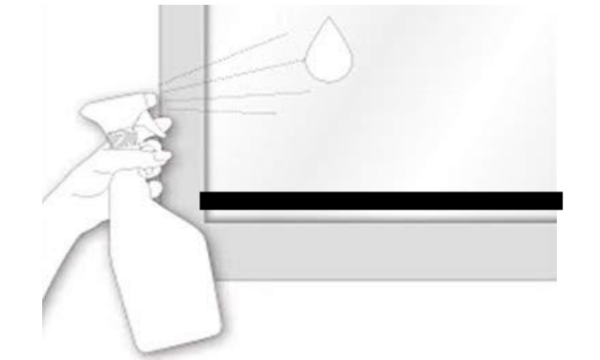
Thoroughly wet the back glass by either spraying clean water or wiping it with a soaking sponge/cloth. Having more water on the surface makes the installation much easier and bubble-free. Make sure you put a rag under to catch dripping water so it does not damage your furniture/aquarium stand.
Step 4
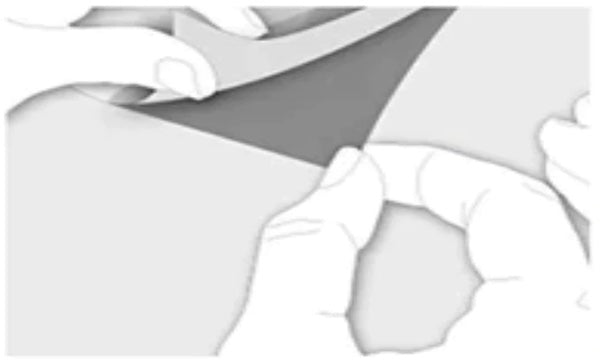
Peel off the protective film. The smooth side of the frosted film is the side to cling to the glass.

Step 5
Place the film on your glass. First, align the straightest (factory cut) edge of the film along the top edge of your glass. Next, align the shorter side of the film with the corresponding vertical side of the glass. Now you should have excess film on the bottom of the glass and on one of the vertical sides.
Step 6
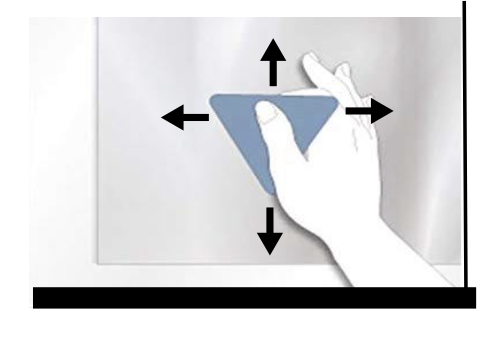
Press all water and air bubbles out of the film with a smooth and straight object such as a credit card. Don't apply excessive pressure as it may scratch or rip your background film.
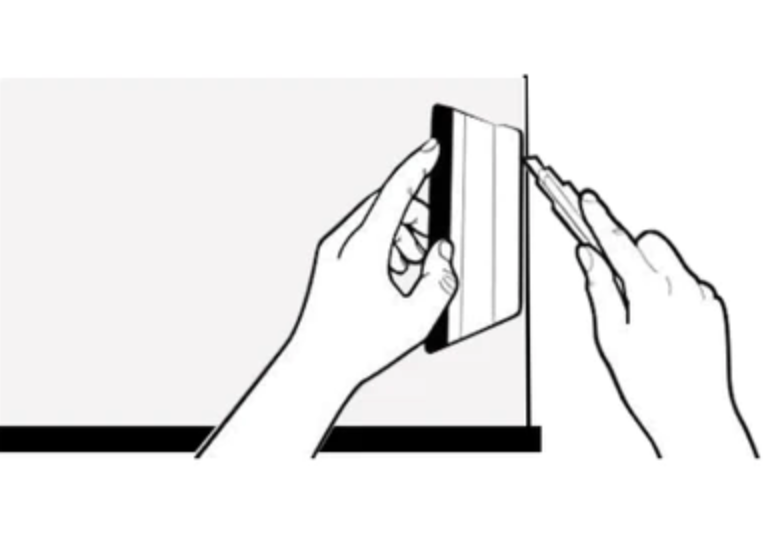
Step 7
Trim off the excess background film (remember you should only be trimming two sides). The easiest and safest way to trim the vertical edge is to hold the razor at a 45-degree angle away from your tank and rest the side of your razor on the edge of your aquarium as you cut (as shown above). Be extra careful not to cut the silicone of your aquarium. This may cause your aquarium to burst.
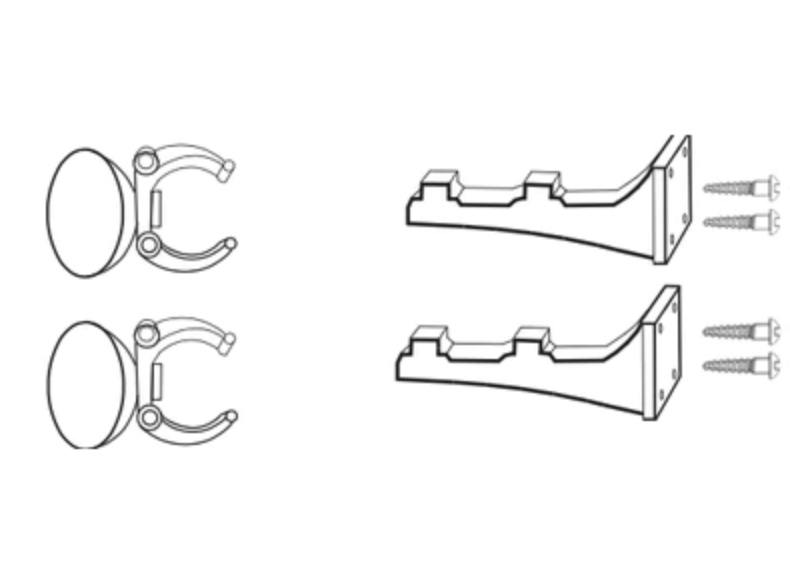
Step 8
Your background film is now installed! Lastly, fit your background light brackets on. We recommend attaching the mounting brackets to your stand with the included wood screws. However, if you have a framed aquarium, you can also use the included suction cups.